-40%
S06A Case Kit RD6006 Case Adjustable DC Power Supply Housing Case Unassembled
$ 44.58
- Description
- Size Guide
Description
DescriptionS06A Case Kit RD6006 Case Adjustable DC Power Supply Housing Case Unassembled
Precautions:
- Please read carefully before assembly. If you have any questions, please contact us. Because the assembly process involves voltages that exceed the voltage that human can withstand, non-professionals are not allowed to operate. During the assembly process, take good insulation and protective measures, and place this product in a place where children and the elderly are difficult to touch.
- The shell is made of cold-rolled steel plate with plastic sprayed surface. When using, prevent from being scratched by sharp objects. Avoid direct sunlight and humid environment.
- Prevent short-circuit during assembly and connect the positive and negative poles correctly.
- Please not connect the circuit when it is power-on. Please avoid shaking and falling.
5. Assembling Procedures:
5.1 Assembly Preparation:
â RD6006 digital power supply*1, S06A case*1, 60V6A switching power supply*1
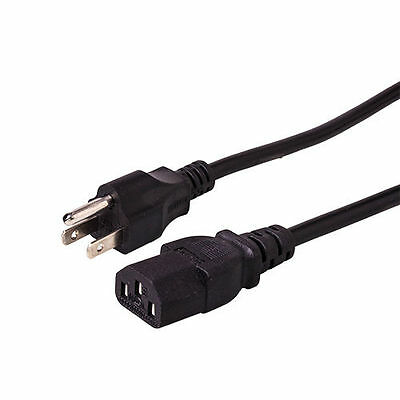
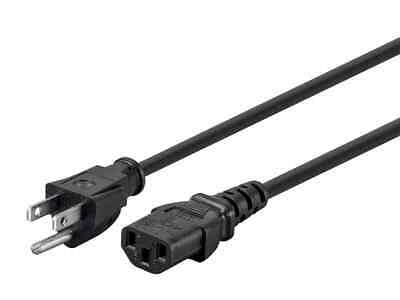
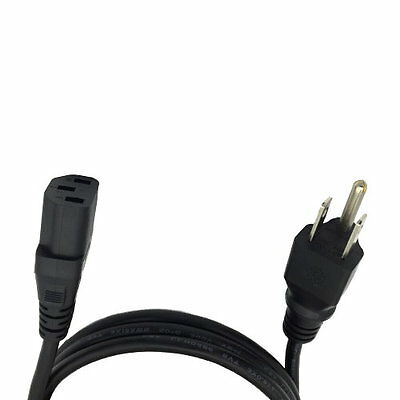
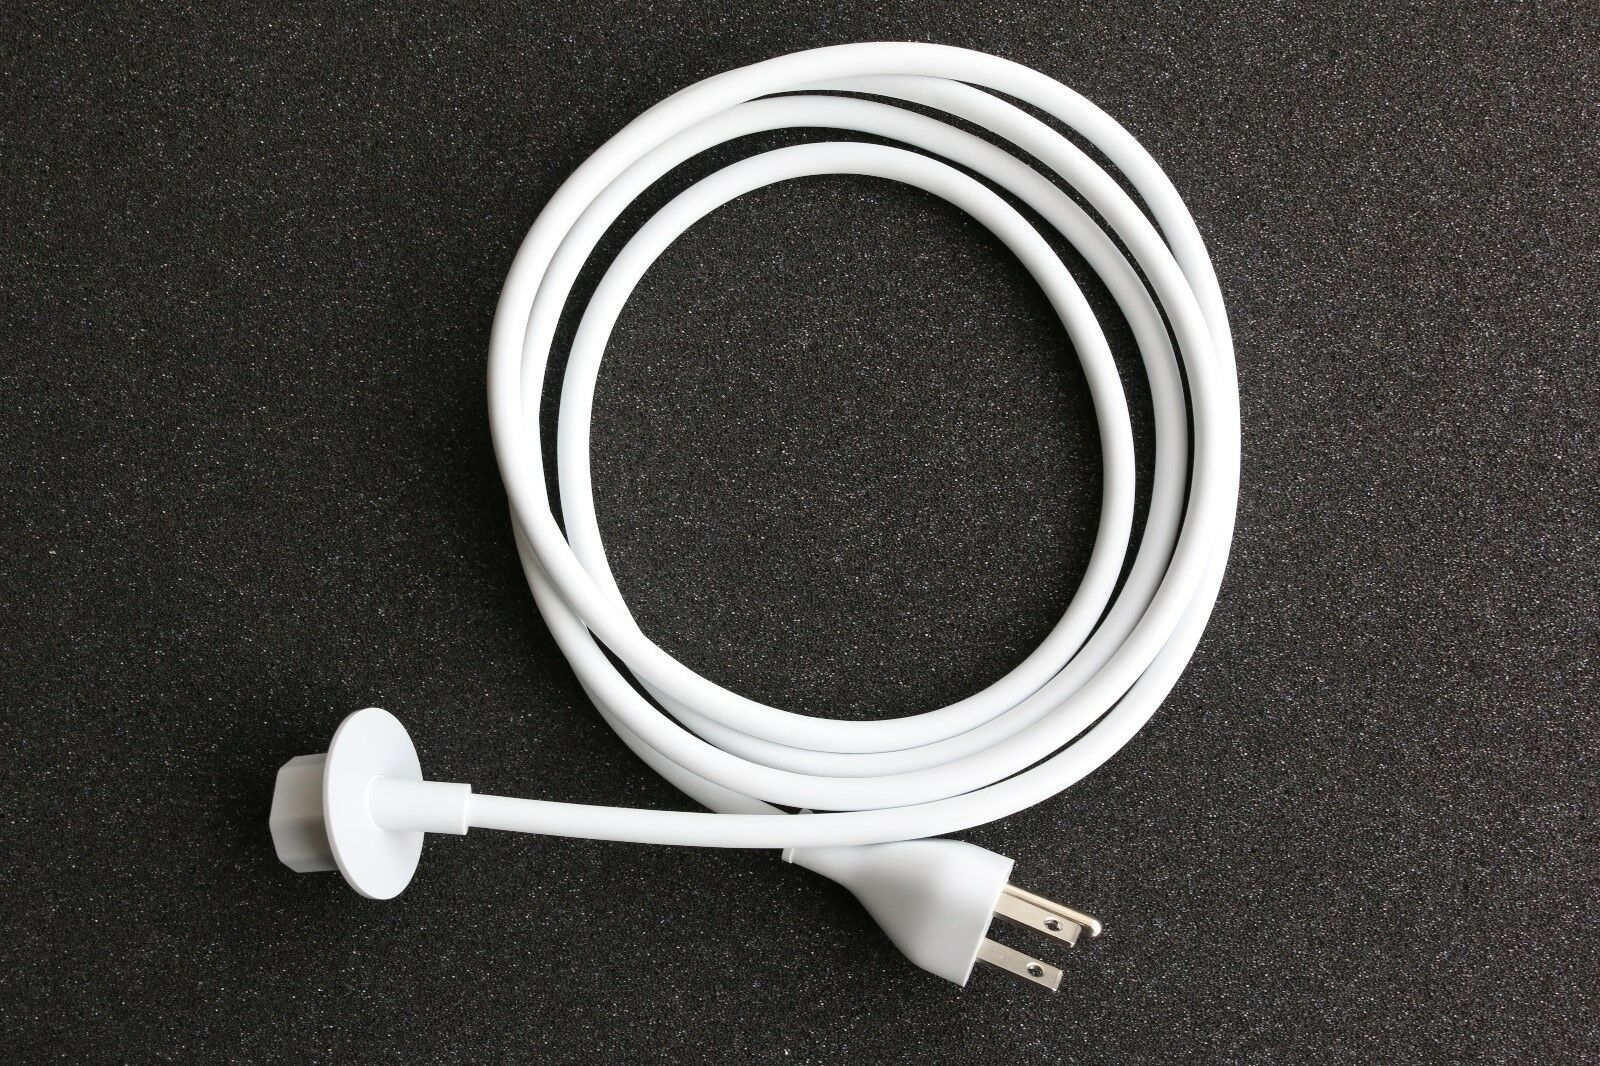
â Tools, accessory (DC power supply, 3-pin power cable, multimeter, screwdriver, test pencil, etc.)
â Proper assembly environment
â Do not connect the circuit when power-on. Try to avoid shaking and falling.
â It is recommend to use a 400W 60V switching power supply as shown below.
5.2 Assembly Steps:
Note: The case material is a bit soft and may be slightly deformed during transportation. If there is a gap during the assembly, please straighten it before assemble it. If you find the temperature inside the case is high. You can install the fan of 60V switching power supply in the opposite way, the heat dissipation is better in this way.
â Check accessories: Check if the accessories of S06A are same as accessory list or accessory picture.
â¡ Check RD6006: Connect the longest power cord to RD6006 terminals, and then adjust input power supply to 12V 1A to power RD6006, and set 5V 1A output on RD6006, turn on the output to see if the output is normal or not.
⢠Rear Panel Assembly: install the rocker switch, AC power socket and fan on the lower board.
⣠Install Switching Power Supply: install the switching power supply on the lower board.
⤠Connect Power Cable to Switching Power Supply: (dangerous, non-professionals should not operate)
- Use brown cable to connect the rocker switch and the live wire (L) of the switch power supply; then use the brown cable to connect the rocker switch and the live wire (L) of the AC power socket;
- Use the blue cable to connect the neutral wire (N) of AC power socket and the neutral wire (N) of switch power supply; Use a yellow-green two-color cable to connect the ground wire (E) of AC power socket and the ground wire (ã¨) of switch power supply.
⥠Switch Power Supply Test:
Check the wring again and power on the switching power supply, and use test pencil to check the power and insulation status. Then use a multimeter to check if the 60V output is normal. And then use screwdriver to adjust the output of the switching power supply to 65V.
⦠Install Power Board for the Fan: install the fan power board to the corresponding position.
⧠Install RD6006: install RD6006 on the front side and connect the external sensor.
⨠Connect the Rest Cables: connect the input of RD6006 to the output of switch power supply, and connect the input of fan power board to the output of switch power supply, connect the fan cable to fan power board.
â© Power on and Test: Connect power cable and turn on the switch, the fan start to work. (Note: When there is lower temperature, temperature-controlled fan will work for 3 seconds and then stop. )
⪠Install the screws of the case.
â« Install feet pads.
⬠Final power-on test.
Note:
- RD6006 Power supply is not included in the package. Please purchase separately.
- The shell is soft and may deform slightly during transportation. If there is a gap during assembly, please straighten it slightly before assembling.
- It is recommended to use with S-400-60 60V 6A preamp power supply. In terms of other power supplies, please make sure that it fits the hole spacing of our items.
Payment Terms
1.We accept PayPal only.
2.All major credit cards are accepted through secure payment processor PayPal.
3.Payment must be received within 7 business days of auction closing.
4.We ship to your eBay or Paypal address. Please make sure your eBay and Paypal address is correct before you pay.
Shipping Terms
- For remote regions, we will charge your extra shipping costs. Usually it cost about 35USD-50USD. We will contact you after your payment. Thanks for your understanding.
Return Terms
1. If you receive defective item, please kindly notify us within 14 days. We will guide you the returning instruction for replacement or refund.
2. If you purchased in improper condition, please NOTE that the sipping and handling fee will not be refund, all return shipping fee should paid by the buyer unless item DOA.
3. We reserve the right to refuse any returns for objective reasons.
Custom Duties & Taxes
1. Import duties, taxes, and charges are not included in the item price or postage cost. These charges are the buyer's responsibility.
2. Avoiding some unnecessary trouble, please check with your country's customs office to inform us what we should declare its value before shipping.
Feedback
1. If you are dissatisfied for any reason, please don't be quick to leave us neutral or negative feedback. We work hard to make sure EVERY CUSTOMER 100% SATISFIED and resolve any problem for you and always leave positive feedback to all our customers.
2. If you are satisfied with the product you received, please kindly leave us a positive feedback and 5 star DSR. If there is any problem of your order, please feel free to contact us firstly, we are responsible and credible seller, will follow it for you asap.
On Jul-06-21 at 00:01:27 PDT, seller added the following information:


